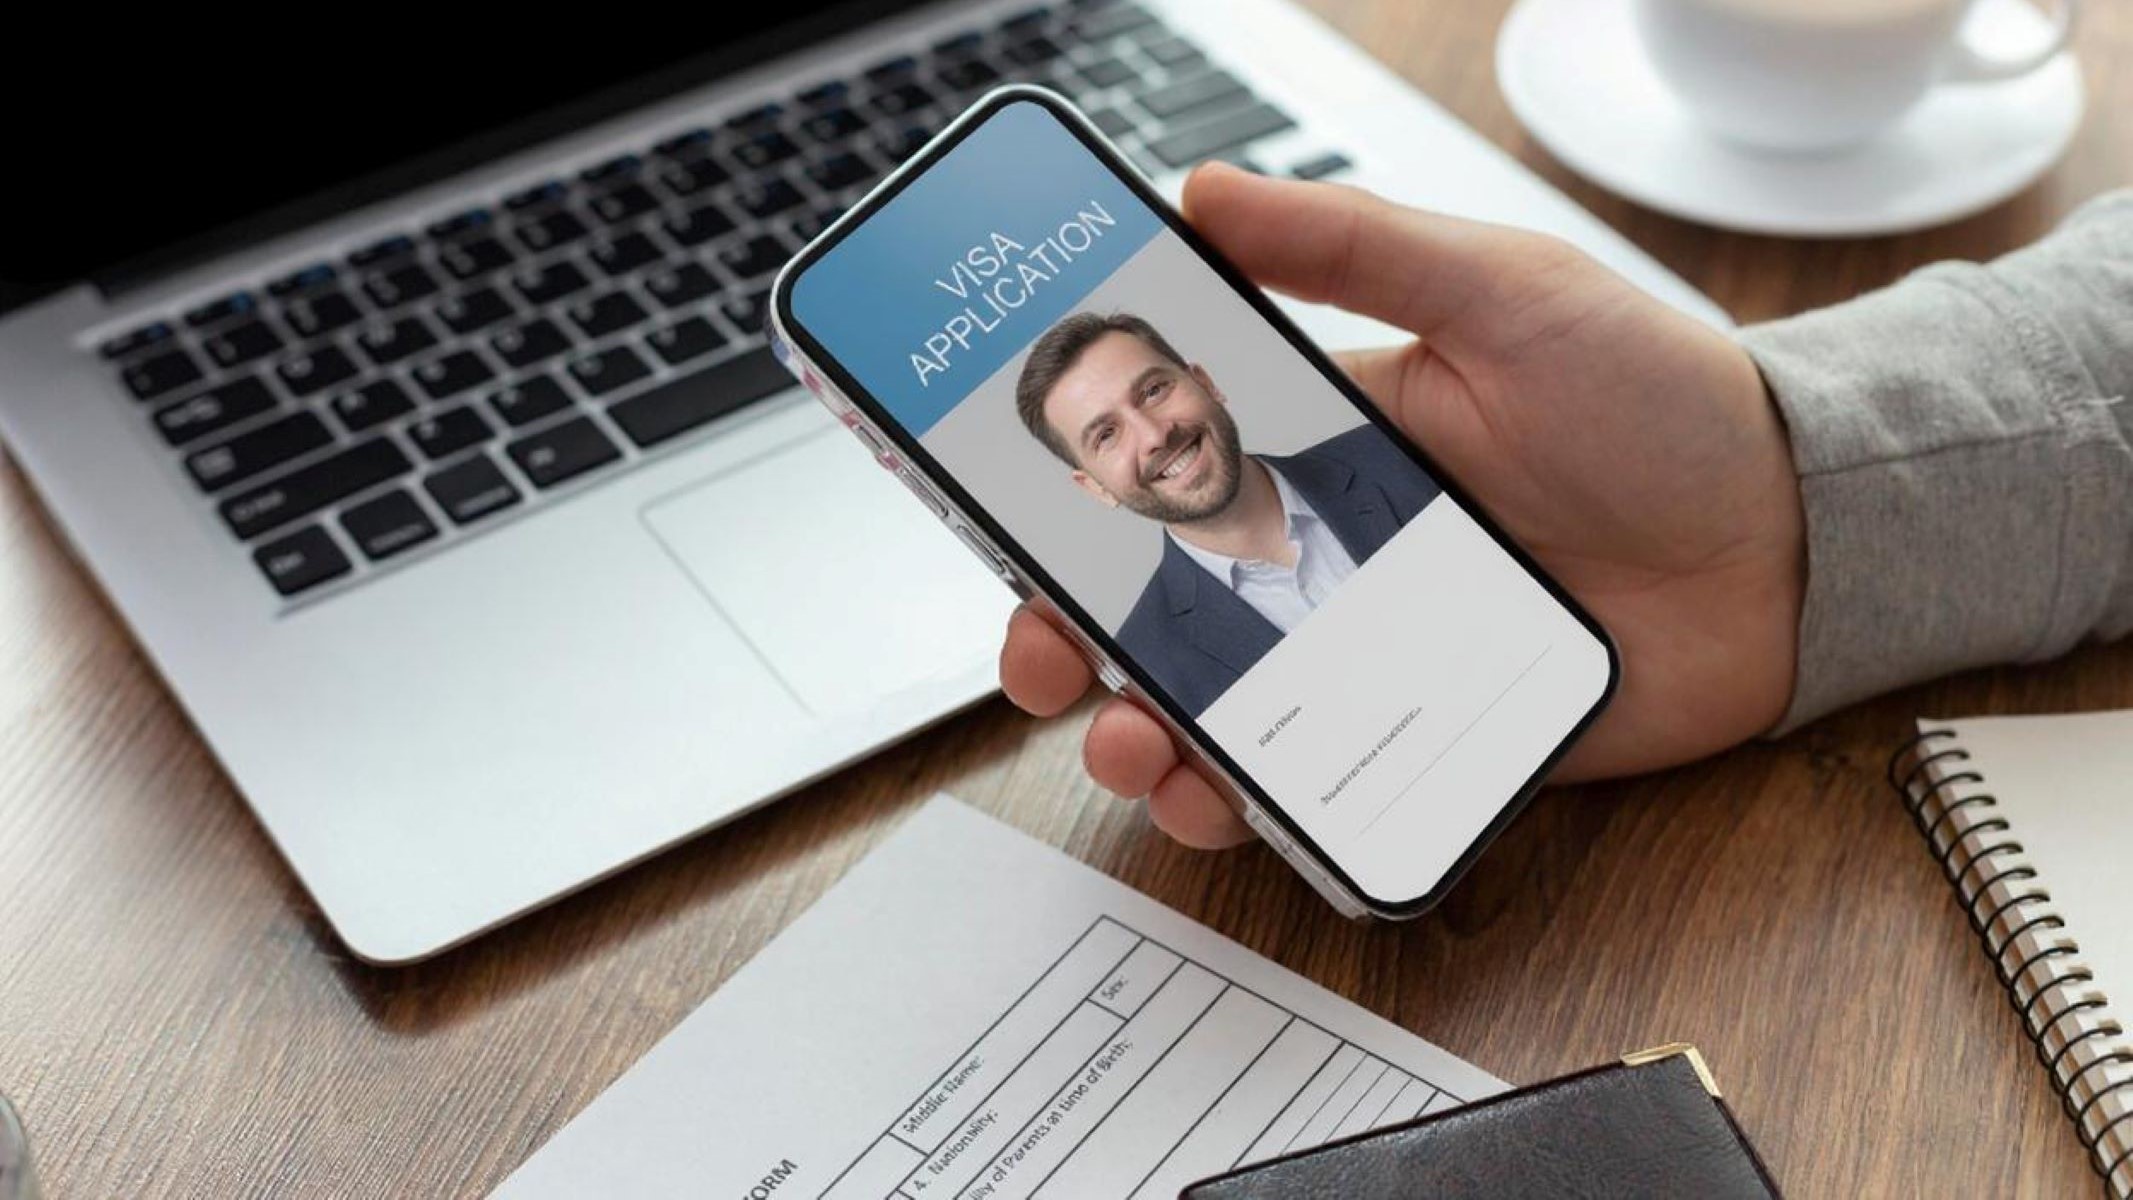
Ever tried submitting a photo for an official document and got it rejected because it didn’t meet the size or cropping requirements? Yeah, frustrating! Whether it’s for a passport, visa, driver’s license, or ID card, your photo needs to fit certain rules — not just any snapshot will do. In this article, I’ll walk you through how to crop and resize a photo perfectly for official documents. No complicated software jargon or confusing steps — just clear, easy, practical advice. Plus, I’ll sprinkle in some handy tips and tricks that’ll save you time and stress. Let’s jump right in!
Understanding the Basics of Document Photo Requirements
Before you even think about cropping or resizing your photo, it’s crucial to understand the specific rules that apply to the document you’re applying for. Different countries, government agencies, and even different types of documents have their own sets of requirements, so what works for a passport in one country might not work for a visa or an ID card elsewhere. However, despite these variations, there are common themes that most official photos share. Knowing these basics upfront can save you a lot of time and frustration, ensuring your photo meets the necessary standards right from the start.
Most official documents require a photo that shows your full face clearly and directly facing the camera, with your head centered in the frame. The background is usually required to be plain, often white or a very light color, to avoid distractions and ensure your face stands out clearly. The photo must be recent—typically taken within the last six months—to reflect your current appearance. Along with these visual guidelines, there are precise size requirements that cover both the physical dimensions (such as 2×2 inches) and the digital dimensions measured in pixels. The photo should be sharp, well-lit, and free of shadows, glare, or any obstructions that might obscure your features.
To put it into perspective, the size requirements vary based on the document. For example, a U.S. passport photo is usually 2 by 2 inches and 600 by 600 pixels with a plain white background. A UK visa photo might be smaller, around 1.5 by 1.5 inches, and the pixel dimensions will be different, but the background still needs to be plain and light. In India, an Aadhaar card photo has its own size standards but shares the common requirements of clarity and a white background. Driver’s license photo sizes vary widely depending on the state or region, but again, the essential elements of a clear, centered face and plain background remain consistent. Keeping these factors in mind will help you prepare a photo that meets the specifications without unnecessary hassle.
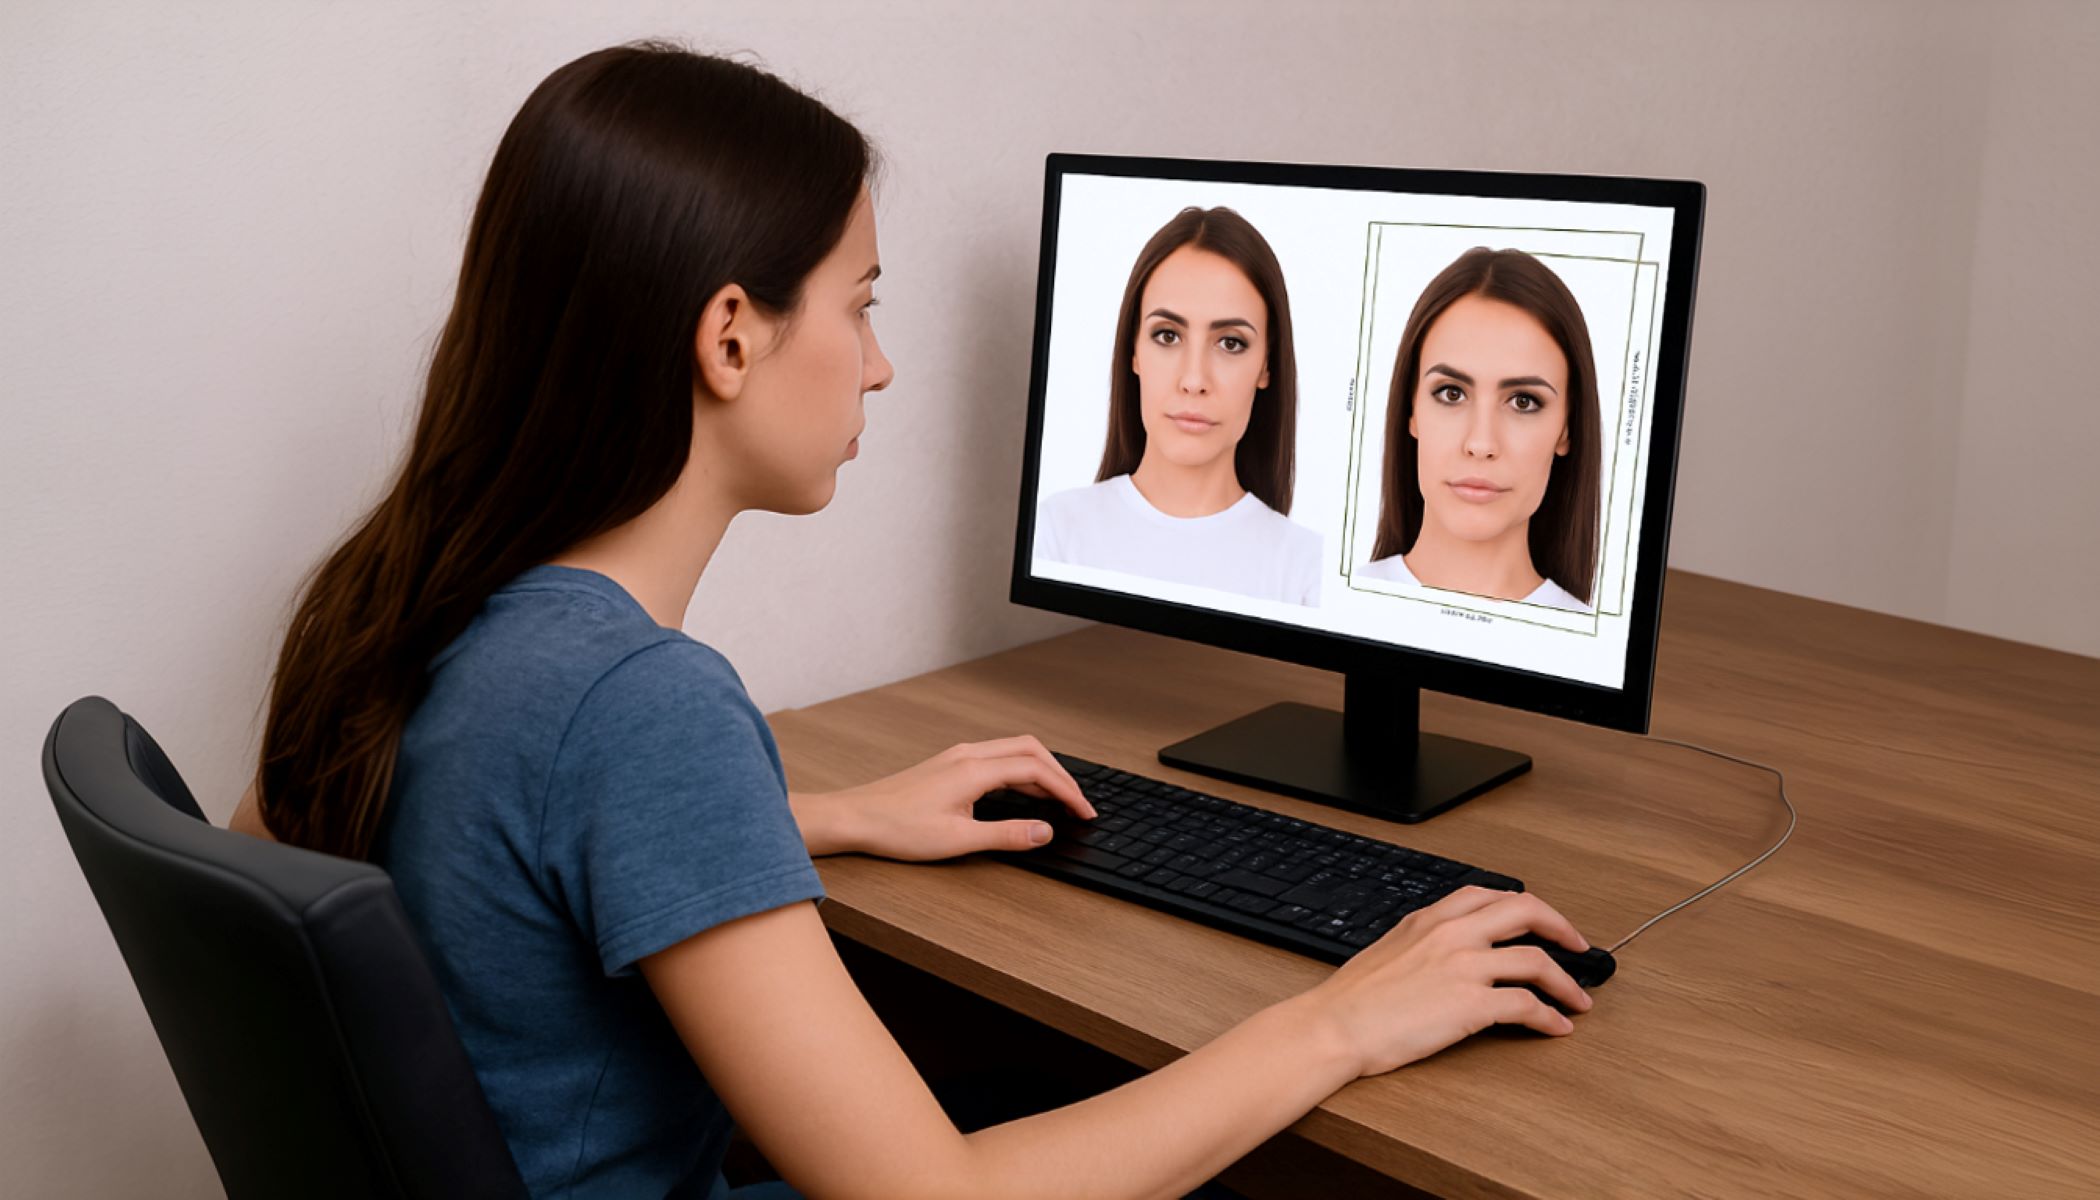
Why is cropping and resizing so important? Think of it this way: if you have a photo that’s too large, too small, or framed incorrectly, it’s like trying to fit a square peg into a round hole—it just won’t fit right. Cropping ensures that your face is properly framed and centered in the photo, while resizing guarantees the photo matches the exact size requirements for the document. Both steps are essential because even if the photo quality is excellent, incorrect dimensions or framing can lead to rejection. By carefully cropping and resizing your photo, you make sure it fits perfectly, presenting you clearly and professionally, which increases the chances of your application being accepted without delays.
Step-by-Step Guide to Cropping and Resizing Your Photo
Ready to get your hands dirty? Here’s how to do it.
- Choose the right photo. Don’t start with a blurry or poorly lit image. Pick a photo with good lighting—natural light works best to avoid harsh shadows. Make sure the background is plain and non-distracting, usually white or a light color. Your face should be fully visible, clear, and looking directly at the camera with a neutral expression.
- Understand the required dimensions for your document. Check the official website or guidelines to find out the exact physical size your photo should be—commonly something like 2×2 inches. Also, find out the pixel dimensions if they provide those (for example, 600×600 pixels). Some documents specify the head size within the photo too, such as the head height needing to be between 1 inch and 1.4 inches.
- Know why both pixels and inches matter. Pixels determine how your photo looks on a screen, but official documents usually have print size requirements in inches or millimeters. If your photo meets only one and not the other, it might end up printing too large or too small, which can cause your application to be rejected.
- Use the right tools for cropping and resizing. You don’t need expensive software like Photoshop. Plenty of easy tools are available online or as apps. For example, online editors like Fotor, Pixlr, or Canva work great. Built-in apps on your computer like Windows Photos or Mac Preview also do the job. On your phone, apps like Snapseed or Adobe Photoshop Express are user-friendly options.
- Always work on a copy of your original photo to protect the original file in case something goes wrong.
- Crop your photo carefully. Cropping means cutting out everything around your face that isn’t necessary. Your head should be perfectly centered in the photo. Depending on the document, you might need to include your shoulders and the top of your chest, so don’t crop too tight. Leave some space around your head, usually about 1/8 inch from the top of the head to the edge of the photo. Make sure you crop to the required aspect ratio—most passport photos need a square 1:1 ratio, while visas might require a 4:5 ratio or another dimension.
- Resize your photo after cropping. The resized image must match the exact dimensions required by the document. To keep the photo sharp and clear, use tools that support resampling, which maintains image quality while adjusting the size. Never stretch or distort your photo; always keep the aspect ratio consistent. Set the resolution to 300 dpi (dots per inch) because that’s the standard for print-quality photos.
Tips to Avoid Common Mistakes
| Common Mistake | Why It Matters | What to Avoid | Recommended Action | Result of Following the Tip |
| Using the Wrong Background | A cluttered or dark background distracts and may cause rejection by authorities. | Busy patterns, dark colors, or backgrounds with objects or shadows. | Use a plain white or light-colored background, as specified by guidelines. | Clear, professional-looking photo accepted without delays. |
| Cropping Too Tight or Too Loose | Incorrect cropping can cut off parts of your head or include too much empty space, making the photo unusable. | Photos that zoom too close on the face or show too much surrounding area. | Ensure your head is centered with some space around it, following size ratios precisely. | Well-framed photo that fits official dimensions perfectly. |
| Ignoring Resolution | Low-resolution photos appear blurry or pixelated, reducing clarity and professionalism. | Photos under 300 dpi or with compressed quality. | Always save and print photos at 300 dpi or higher for sharpness. | Crisp, clear images that meet print standards and look professional. |
| Wearing the Wrong Clothes | Clothes that blend into the background or are too flashy can cause poor contrast and rejection. | Uniforms, camouflage, bright patterns, or colors close to the background. | Wear simple, solid-colored clothing that contrasts with the background. | Enhanced visibility of your face and compliance with photo rules. |
Advanced Tips for Perfect Document Photos
When you’re comfortable with photo editing software, you can take your document photos to the next level by using the advanced features these programs offer. Tools like Photoshop provide guides and grids that help you crop your photo with precision, ensuring that your face is perfectly centered and the dimensions meet official requirements exactly. You can also adjust brightness and contrast to improve lighting conditions in your photo, making sure your face is clearly visible without harsh shadows or overexposure. Additionally, subtle use of healing tools allows you to fix minor skin blemishes or remove small distractions, which can enhance the overall quality without changing your natural appearance.
However, it’s important to strike the right balance when editing your photo. Over-editing can quickly become a problem because official documents require an accurate representation of how you look. If your photo appears heavily retouched or altered, there’s a risk it will be rejected by the issuing authority. The key is to use editing tools to enhance clarity and meet technical requirements without changing your facial features or making the image look unnatural. Remember, the purpose of the photo is identification, so authenticity is critical.
If you need to prepare multiple photos, such as for a family or group, batch processing is a huge time saver. Many photo editing programs have batch processing features that allow you to crop, resize, and apply the same adjustments to a whole set of images at once. This ensures that every photo meets the exact same standards and dimensions without having to edit each one individually. Batch processing not only saves time but also helps maintain consistency across all your photos, which is especially helpful if they need to be submitted together for the same document type.
By mastering these advanced techniques, you can create perfect document photos that meet all the official specifications while looking professional and natural. Using photo editing software smartly, avoiding over-editing, and leveraging batch processing will make the whole process smoother and more efficient—giving you peace of mind that your photos will be accepted the first time around.
Using Your Phone to Crop and Resize Photos
- Start by selecting a reliable mobile app designed for photo editing. Some of the best options include Snapseed for simple cropping and resizing, Photoshop Express for more precise control over dimensions, and Passport ID Photo Maker which is specifically tailored for official document photo requirements.
- Open the chosen app on your smartphone to begin editing. Navigate to your photo gallery and select the image you intend to prepare for your official document.
- Use the app’s crop tool to frame your face accurately. Make sure your head is centered in the frame, fully visible, and the photo follows the correct aspect ratio—usually a square (1:1) for passport photos.
- Adjust the cropping box to include enough space around your head and shoulders as required by the document guidelines. Avoid cutting too close or leaving too much empty space.
- After cropping, find the resize option within the app. Input the exact pixel dimensions specified by your document’s photo guidelines, ensuring the image fits perfectly without distortion.
- Maintain the correct aspect ratio while resizing to prevent your photo from becoming stretched or squashed, which can lead to rejection.
- Verify that the resolution is adequate—ideally 300 dpi—for print quality if your photo will be printed or scanned.
- Inspect the edited photo for clarity, lighting, and background uniformity before saving. The image should be sharp, well-lit, and have a plain background with no distractions.
- Save the photo with a clear, descriptive file name such as “passport_photo_2025” or “visa_photo_final” to easily locate it later and avoid confusion during submission.
- Keep a backup of the original photo to avoid losing it in case you need to make further edits or corrections.
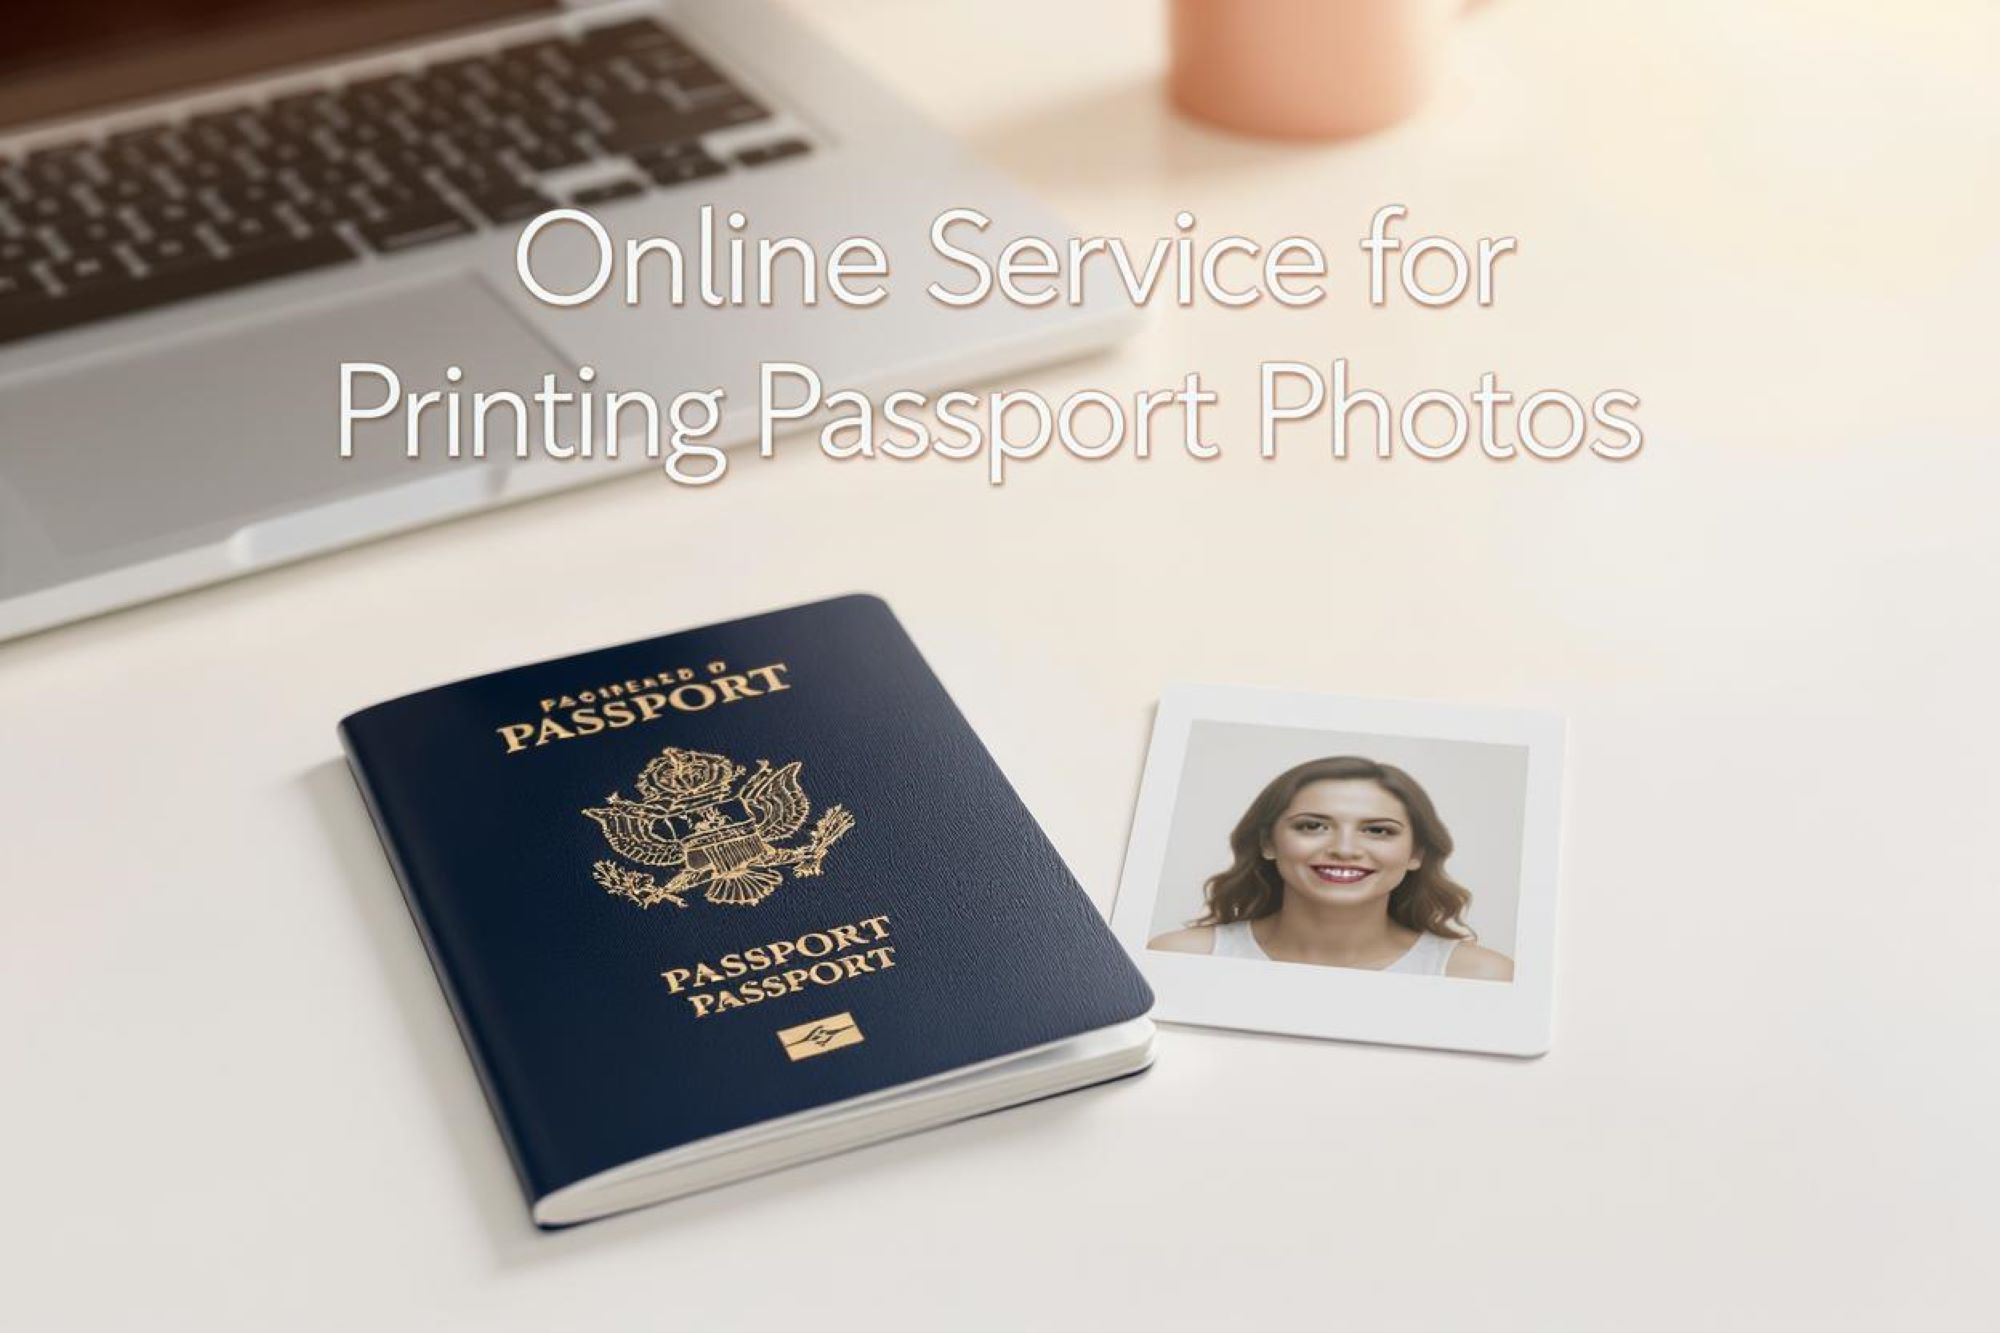
Printing Your Photo: What You Need to Know
| Key Aspect | Description | Recommended Practice | Common Mistakes to Avoid | Outcome When Done Correctly |
| Print Resolution | The detail level of your printed photo | Print at 300 dpi (dots per inch) for sharp, clear images | Printing at lower dpi causing blurry or pixelated photos | Crisp, professional-quality prints suitable for official documents |
| Paper Quality | The type of paper used for printing | Use high-quality photo paper designed for photo printing | Using regular or low-quality paper leading to faded or poor-looking photos | Durable, vibrant photos that meet official standards |
| Digital Photo Size | The dimensions of the photo file before printing | Ensure the digital photo is resized to exact official dimensions before printing | Resizing after printing which can distort or blur the image | Perfectly sized physical photos with correct proportions |
| Printer Settings | How the printer processes and outputs the image | Use printer settings that maintain photo size and resolution without scaling | Automatic scaling or “fit to page” settings that alter photo size | Accurate printouts matching digital specifications |
| Final Quality Check | Verifying the printed photo’s accuracy and clarity | Measure the printed photo with a ruler to confirm size and inspect for sharpness | Ignoring size and clarity checks leading to rejected photos | Guaranteed acceptance of the printed photo by official agencies |
Checking the Printout
Once you have printed your official document photo, it’s essential to carefully check the physical printout to ensure it meets all the required specifications. Even if your digital file was perfectly cropped and resized, small variations can occur during the printing process that affect the size and clarity of the final photo. Using a ruler, measure the dimensions of the printed photo to confirm that it matches the exact size specified by the issuing authority. This simple step can save you from the frustration of submitting a photo that’s technically out of specification and getting rejected.
Printer settings often cause subtle scaling issues, especially if the “fit to page” or “scale to fit” options are enabled by default. These settings might slightly enlarge or reduce your photo, distorting its proportions and altering the size. To avoid this, always check your printer preferences before printing and disable any automatic scaling features. Printing the photo at 100% or “actual size” helps maintain the correct dimensions and ensures the printout is an accurate reflection of your digital file.
Beyond size, inspecting the printout’s clarity and overall quality is equally important. The photo should be sharp, with well-defined facial features and a clean, uniform background. Blurriness, smudges, or faded areas can be a sign of poor print quality or low-resolution files. If any of these issues are present, it’s better to reprint the photo using higher-quality paper and adjusting the printer settings to improve resolution and color accuracy.
Finally, make sure to review the photo under good lighting conditions to catch any imperfections that might not be obvious in dim or uneven light. Taking the time to carefully check every detail of your printed photo ensures that you submit a compliant and professional-looking image, increasing the chances your application will be accepted without delays or requests for resubmission.