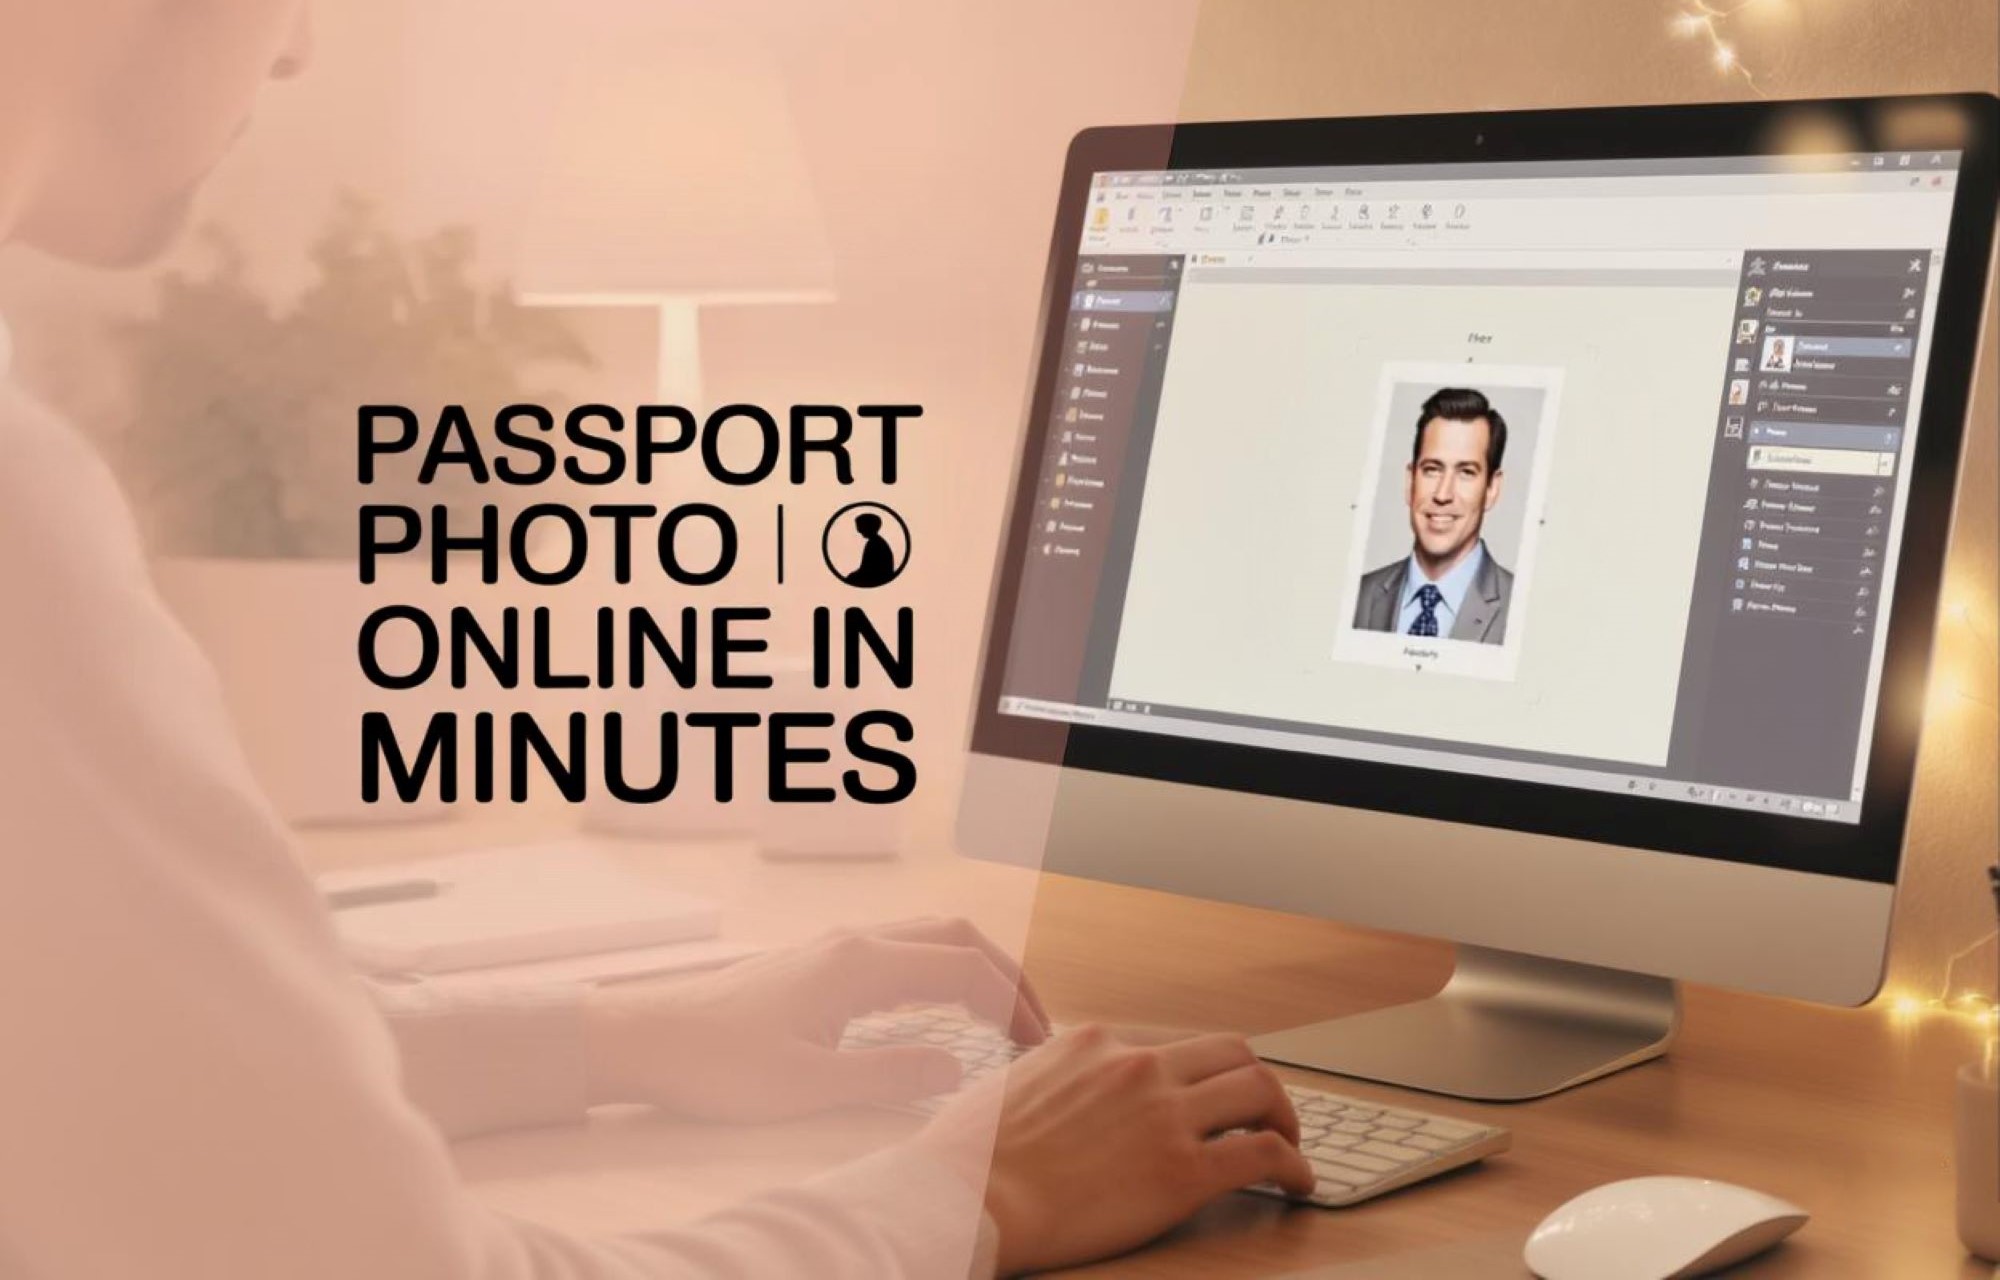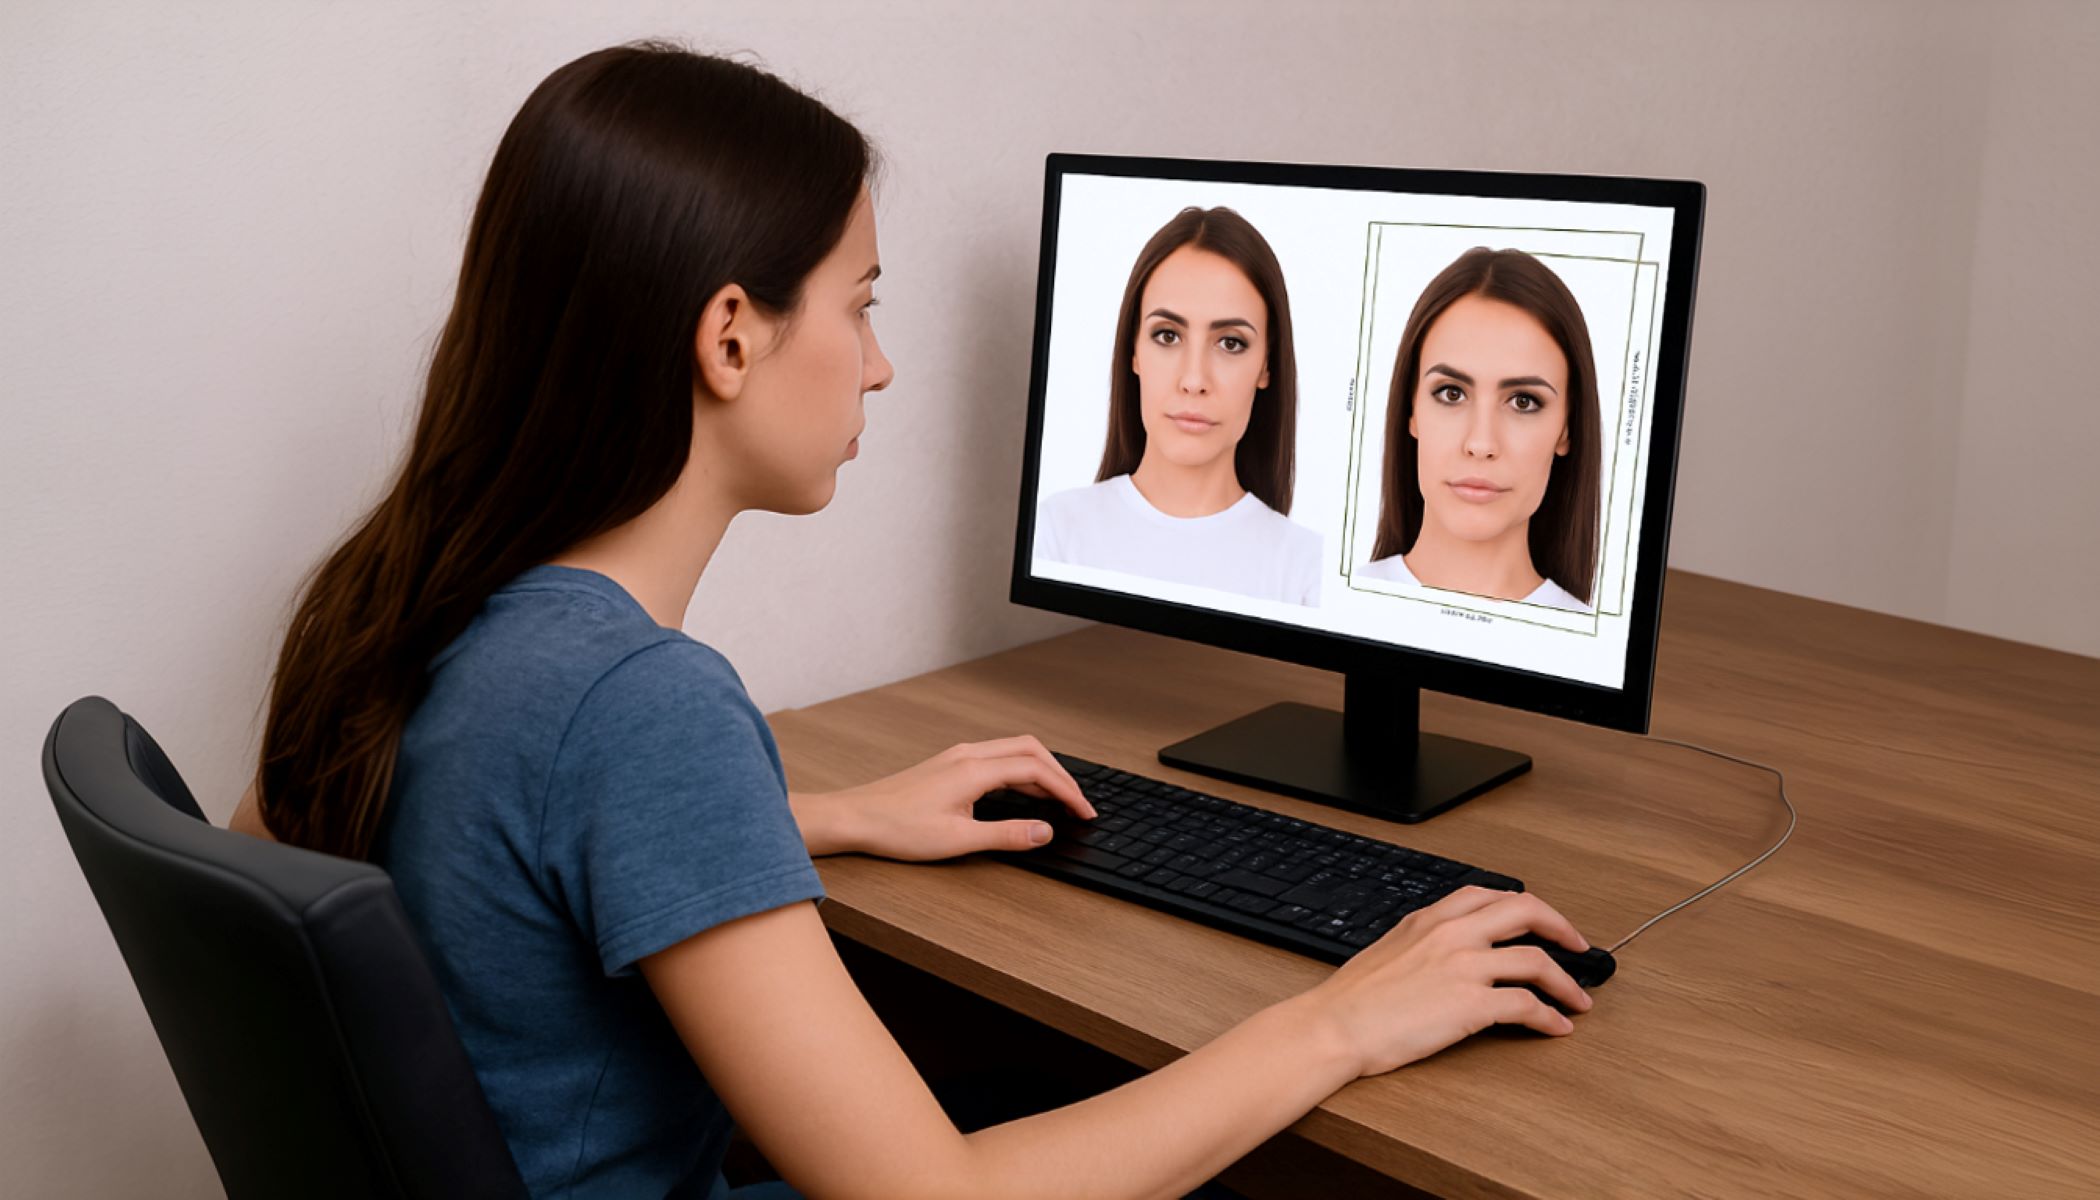
Ever tried snapping a photo of a document at home only to end up with a blurry, shadow-filled mess? Yeah, we’ve all been there. Lighting might seem like a small detail, but it can make or break your document photos. Whether you’re scanning receipts for expense reports, capturing pages for online applications, or just archiving old papers, good lighting ensures clarity and legibility. In this article, we’re diving deep into how you can master lighting techniques for document photography right in the comfort of your home. No fancy studio setup needed—just smart tips that will transform your phone or camera shots from “meh” to masterpiece.
Understanding the Basics of Lighting in Document Photography
Before diving into the specific techniques of lighting for document photography, it’s essential to understand the foundational role lighting plays in capturing clear and legible images. Lighting, in essence, is the illumination that falls on your subject—in this case, the document you want to photograph. It might seem simple, but the way light interacts with your document can dramatically affect the final image quality. Proper lighting eliminates unwanted shadows that can obscure crucial details and prevents glare, which often manifests as bright, washed-out spots that make text unreadable.
Good lighting also ensures that your camera sensor receives an even amount of light across the entire surface of the document. This even exposure is critical because it brings out all the fine details, such as small fonts or subtle markings, without parts of the image being too dark or too bright. When lighting is inconsistent, parts of the document might appear faded or overly shadowed, making it difficult to read or interpret the content accurately. The camera’s ability to focus sharply also depends on how well the document is lit. Insufficient or uneven light can cause autofocus to struggle, resulting in blurry photos that defeat the purpose of documenting.
Think about how your eyes react when you try to read a book in a dimly lit room. Your eyes strain, and you might miss important details or get tired quickly. Cameras have a similar challenge; without sufficient and proper lighting, they cannot capture every letter or line clearly. That’s why understanding and controlling lighting is key—it helps to “light up” your document evenly and softly so that every word is crisp and easily readable in your photographs.
In summary, lighting isn’t just about brightening a scene—it’s about creating the perfect balance of illumination that highlights your document’s features without overpowering or underexposing any part of it. Mastering these basics sets the stage for using effective lighting techniques that will produce professional-quality document photos at home, regardless of the equipment you have.
Types of Lighting Sources You Can Use at Home
When it comes to lighting your documents at home, you have several options that vary in cost, convenience, and quality. Here’s a detailed list to help you understand the different types of lighting sources available and how to use them effectively:
- Natural Light
Sunlight is often the easiest and most accessible lighting source. It provides soft, even illumination that can make your document photos look bright and clear without any extra cost. Natural light works best when it’s indirect—meaning, avoid placing your document in direct sunlight, which can create harsh shadows and glare that obscure text. Instead, position your document near a window where sunlight filters through gently, like on an overcast day or during morning and late afternoon hours. However, natural light’s biggest downside is its inconsistency; it changes throughout the day and depends heavily on weather conditions, so you may not always get the lighting you want. - Desk Lamps and Table Lights
If natural light isn’t available or reliable, a desk lamp can be your go-to source. These are widely available, inexpensive, and easy to position. Look for lamps with adjustable arms so you can direct light precisely where you need it. For the best results, use bulbs labeled as “daylight” or with a color temperature around 5000 Kelvin, which produces a neutral white light that won’t distort the colors on your document. Avoid using traditional incandescent bulbs or warm-colored LEDs, as these tend to cast a yellowish hue that can affect the clarity and true color of your documents. - LED Panels and Light Boxes
More advanced than desk lamps, LED panels provide bright, consistent light over a larger area, making them ideal for photographing bigger documents or multiple pages at once. LED panels often come with adjustable brightness and color temperature controls, allowing you to fine-tune the lighting environment. They are energy-efficient and produce minimal heat, so you can work comfortably for extended periods. Though pricier than basic lamps, they offer professional-level lighting quality in a compact form. - Ring Lights
Ring lights are circular light sources that surround your camera lens, producing even, shadow-free illumination. Originally popular with portrait photographers and videographers, ring lights have found their way into document photography as well because they eliminate shadows and provide a flattering, balanced light. They’re especially helpful if you’re shooting documents with glossy or reflective surfaces, as the circular design helps reduce glare. Many ring lights have adjustable brightness and color temperature settings, but they tend to be bulkier and more expensive than lamps or LED panels. - Smartphone Flashlights
When no other options are available, your smartphone’s flashlight can serve as an emergency lighting source. However, the direct beam is usually too harsh and can cause hotspots and reflections on the paper. To soften the light, try bouncing the flashlight off a nearby white wall or ceiling instead of pointing it straight at the document. This creates a more diffuse light that reduces glare and shadows but requires a bit of improvisation.
Step-by-Step Lighting Setup for Document Photography at Home
| Step | Description | Tips | Common Mistakes to Avoid | Why It Matters |
| Choose Your Shooting Spot | Select a flat, stable surface near a large window to take advantage of natural light or a well-lit table. | Near a window with indirect sunlight is ideal; avoid cluttered or uneven surfaces. | Using uneven or shaky surfaces that cause blurry photos. | Provides a steady base and the best possible lighting environment. |
| Set Up Your Light Source | Position your light source(s) to illuminate the document evenly without creating harsh shadows or glare. | For natural light, keep document near but not in direct sunlight; with lamps, place at 45° angles. | Placing lamps directly overhead or in front, causing shadows or hotspots. | Ensures balanced lighting that reveals all document details clearly. |
| Avoid Shadows | Shadows obscure text and reduce legibility. Use multiple light sources or reflectors to minimize shadows. | Use two light sources on opposite sides or a reflector made from white cardboard to bounce light. | Allowing your hand or camera to cast shadows on the document. | Keeps the entire document clearly visible and easy to read. |
| Eliminate Glare | Glare causes bright spots that wash out text, especially on glossy or laminated documents. | Slightly tilt the document or adjust the angle of your light; avoid shooting straight down. | Shooting directly overhead or letting light hit the document straight on. | Prevents reflection, ensuring no part of the document is obscured. |
Lighting Angles Explained: The Magic of 45 Degrees
When it comes to lighting for document photography, the 45-degree angle is often considered the sweet spot—much like Goldilocks, it’s not too harsh and not too flat, but just right. This angle refers to positioning your light source so that it shines onto your document at about a 45-degree tilt rather than straight down or from the side. The reason this angle is so effective lies in how it interacts with the surface of the paper. It helps to avoid direct reflections and hotspots that can wash out the text, especially if your document has a glossy or laminated finish.
Using a 45-degree angle reduces the harsh shadows that often obscure important details in photos taken with lighting from an overhead or side position. When light comes in too directly, it can create intense shadows or glare spots that make parts of the document difficult to read. Placing lamps on either side of the document at 45 degrees balances the light evenly across the page, softening shadows and ensuring all text is illuminated clearly. This approach gives your document a natural, well-lit appearance, similar to how you might read it under gentle daylight.
Another advantage of the 45-degree lighting setup is its versatility. It works well with almost any type of lighting source, whether you’re using natural light, desk lamps, or LED panels. Because the light hits the paper at an angle, it prevents the camera lens from catching direct reflections, which can be distracting or even render parts of the text unreadable. This setup also allows for better control when working in less-than-ideal lighting environments at home.
In practice, positioning two light sources at 45-degree angles on opposite sides of your document is a straightforward technique that significantly improves photo quality. It’s a simple adjustment that can be done with household lamps or portable lights, requiring no special equipment. By understanding and applying the magic of the 45-degree angle, you can avoid common lighting pitfalls and produce crisp, glare-free images that capture every detail with clarity and precision.
DIY Reflectors to Boost Your Lighting
You don’t need to spend a fortune on professional photography equipment to improve your lighting setup for document photography at home. DIY reflectors are an easy, cost-effective way to enhance your lighting by bouncing light onto shadowed areas and softening harsh beams. Here’s a detailed list of ideas and materials you can use to create your own reflectors and get the most out of your existing light sources:
- White Poster Board: One of the simplest reflectors you can make is just a plain white poster board. Its smooth, matte surface reflects light softly and evenly, filling in shadows without causing glare. You can stand it up opposite your main light source to bounce light back onto your document.
- Aluminum Foil on Cardboard: Wrap a piece of sturdy cardboard with aluminum foil, shiny side out. This reflector produces a stronger, more focused bounce than white poster board, which is great if you need to brighten a particularly dark area. To soften the reflection, you can gently crumple the foil slightly, which diffuses the light and reduces harsh highlights.
- White Foam Board: Similar to poster board but thicker, foam boards are rigid and easy to position. Their larger size and sturdiness make them ideal for bigger setups or if you want a reflector that stands on its own without support.
- Reflective Mylar Sheets: These are thin, shiny sheets often used in gardening or emergency blankets. Mylar reflects light very efficiently and is lightweight, but its high reflectivity can cause hot spots, so be careful to angle it properly.
- White Fabric: A piece of plain white cotton or bedsheet stretched over a frame or taped flat can act as a reflector and diffuser simultaneously. The fabric softens the reflected light, making it gentle on your document surface.
- Cardboard Covered with White Paper: If you don’t have poster board, regular cardboard with a sheet of plain white paper glued or taped on top can work as a reflector. It’s inexpensive and easy to customize to any size you need.
- Using Household Items as Reflectors: Objects like white walls, ceilings, or even large white books can serve as natural reflectors. Position your document and light source to take advantage of these surfaces bouncing light onto your subject.
Using Diffusers to Soften Harsh Light
| Aspect | Description | Common Materials | How to Use | Benefits |
| What Are Diffusers? | Diffusers are materials or tools that spread light evenly, breaking up harsh beams to create softer illumination. | Translucent fabrics, papers, plastics | Placed between your light source and the document to scatter light. | Reduces strong shadows and glare, producing a gentler light. |
| White Bedsheet | A simple piece of white cotton fabric that diffuses light effectively. | Cotton bedsheet or any white thin fabric | Stretch over a lamp or hang between light and document. | Softens light without blocking it, affordable and reusable. |
| Parchment Paper | Baking parchment is semi-translucent and great for diffusing light. | Baking parchment sheets | Tape over a desk lamp or suspend between light and subject. | Creates soft, even light with minimal color distortion. |
| Translucent Shower Curtain | A plastic shower curtain with frosted texture works as an excellent diffuser. | Frosted or white translucent plastic | Hang or clip in front of your light source. | Durable and effective at softening light from multiple sources. |
| DIY Diffuser Setup Tips | Use materials to cover or diffuse harsh LED or incandescent bulbs without overheating risks. | Ensure enough distance between diffuser and bulb | Adjust distance to control softness; avoid direct contact with hot bulbs. | Prevents hotspots, reduces eye strain, and enhances photo quality. |
Comparing Lighting Setups: Natural vs. Artificial
When deciding how to light your documents for photography at home, it’s important to understand the strengths and limitations of both natural and artificial lighting. Natural light, coming from the sun, is freely available and often provides a beautiful, soft illumination that enhances the clarity of your document images. It tends to offer excellent color accuracy since sunlight has a full spectrum of light, allowing your camera to capture true-to-life colors and fine details. However, natural light is unpredictable—it changes throughout the day and depends heavily on weather conditions, which can make it challenging to get consistent results.
Artificial light, on the other hand, is a controllable source that you can rely on regardless of time or weather. Whether it’s desk lamps, LED panels, or ring lights, artificial lighting allows you to create a stable and consistent environment for photographing documents. This consistency is especially valuable if you need to take multiple photos over time or work late into the evening. However, artificial lights vary in color temperature depending on the bulbs used, which means you may need to adjust your camera’s white balance or choose bulbs with daylight-equivalent color temperatures to ensure color accuracy.
Ease of use is another factor to consider. Natural light requires minimal setup—you simply place your document near a window and let the sunlight do its work. But because it is dependent on external factors, you might have to plan your shoots around the best lighting times. Artificial light setups, while requiring a bit more preparation and equipment, offer the advantage of flexibility. You can adjust the positioning, intensity, and type of light to suit your needs, which is ideal for more controlled or professional-looking results.
Shadow control is where artificial lighting often outshines natural light. Direct sunlight, especially when strong, can cast harsh shadows that obscure parts of your document. With artificial lighting, you can strategically position multiple light sources or use diffusers and reflectors to soften shadows and create even illumination. This makes it easier to highlight every detail clearly without unwanted dark spots or glare, giving you full control over how your document is presented in the photo.