Taking a US visa photo might sound simple, but let me tell you — it’s actually a bit of an art form. If you mess it up, your application might get delayed, or worse, rejected. But don’t stress! In this article, I’ll walk you through how to take a US visa photo with your phone step-by-step. No fancy camera? No problem. Your smartphone can do the trick if you follow the rules carefully. Let’s dive right in and make sure your visa photo is passport-perfect!
Why Taking a Proper US Visa Photo Matters
Before we jump into the technical stuff, it’s important to understand why this photo is such a big deal. The US visa photo is not just any ordinary picture or a casual selfie you snap on your phone. It serves as a critical form of identification that officials rely on to verify your identity during your visa application process. Because of this, the photo has to be clear, precise, and meet a strict set of guidelines to ensure it accurately represents you without any confusion or doubt.
Even the smallest mistake in the photo—whether it’s lighting, head position, or background color—can lead to your visa application being rejected outright. Imagine spending hours filling out paperwork, paying fees, and scheduling appointments, only to have the entire process delayed because your photo didn’t meet the standards. This can cause unnecessary stress and frustration, especially if you’re on a tight timeline for travel plans.
Taking the time to get your photo right from the start isn’t just about convenience; it’s about saving yourself from potential headaches down the line. A proper visa photo helps ensure your application moves smoothly through the system without avoidable delays. It’s a small step that carries a big impact on your entire visa journey.
So, when you think about it, the visa photo is more than just a picture. It’s a gateway to your travel dreams, a key that opens doors to opportunities abroad. Taking it seriously and following the guidelines carefully is absolutely essential if you want to avoid complications and keep your application on track.
US Visa Photo Requirements: The Basics
| Requirement | Details | Why It Matters | Common Mistakes | Tips to Get It Right |
| Photo size | 2 x 2 inches (51 x 51 mm) | Standard size accepted worldwide for US visas | Using photos too large or too small | Use cropping tools or photo apps with preset visa sizes |
| Head size | Between 1 inch and 1 3/8 inches (25-35 mm) from chin to crown | Ensures your face is clearly visible and proportionate | Head too big or too small in frame | Adjust distance from camera, use grid lines to measure |
| Background | Plain white or off-white | Provides a clean, distraction-free backdrop | Background with patterns, shadows, or colors | Stand in front of a plain wall, use apps to whiten background |
| Face position | Full face, centered, looking straight ahead | Allows accurate facial recognition | Tilted head, looking sideways or up/down | Use gridlines, stand/sit straight, look directly at camera |
| Expression | Neutral (no smiling, frowning, or open mouth) | Prevents changes in facial features for ID verification | Smiling, squinting, or frowning | Relax your face, think neutral, keep lips closed |
| No shadows | No shadows on face or background | Shadows can obscure facial features | Shadows caused by uneven lighting | Use even natural light, avoid harsh or direct lighting |
| No glasses | Glasses not allowed, even if you wear them daily | Prevents glare or reflections that hide eyes | Wearing glasses, tinted lenses, or frames | Remove glasses before taking photo |
| Recent photo | Taken within the last 6 months | Ensures photo represents your current appearance | Using old or outdated photos | Always take a fresh photo close to your application time |
Prepare Your Space and Phone
Before snapping your US visa photo with your phone, setting up the right environment and ensuring your device is ready is absolutely essential. Here’s a detailed and thorough list of everything you need to do to prepare properly:
- Choose a plain white or off-white background:
- Find a wall or backdrop that is completely plain, without any decorations, textures, patterns, or colors.
- Make sure the background is smooth and uniform to avoid distractions or shadows that can cause your photo to be rejected.
- Double-check that the wall is clean and free from marks, dirt, or anything that might show up in the photo.
- Use natural lighting wherever possible:
- Position yourself near a window during daytime to take advantage of soft, even natural light.
- Avoid direct sunlight hitting your face because it can create harsh shadows or cause you to squint.
- Steer clear of overhead lights or lamps that can cast unflattering shadows on your face or background.
- If indoors, try to face the window directly so your face is evenly lit from the front.
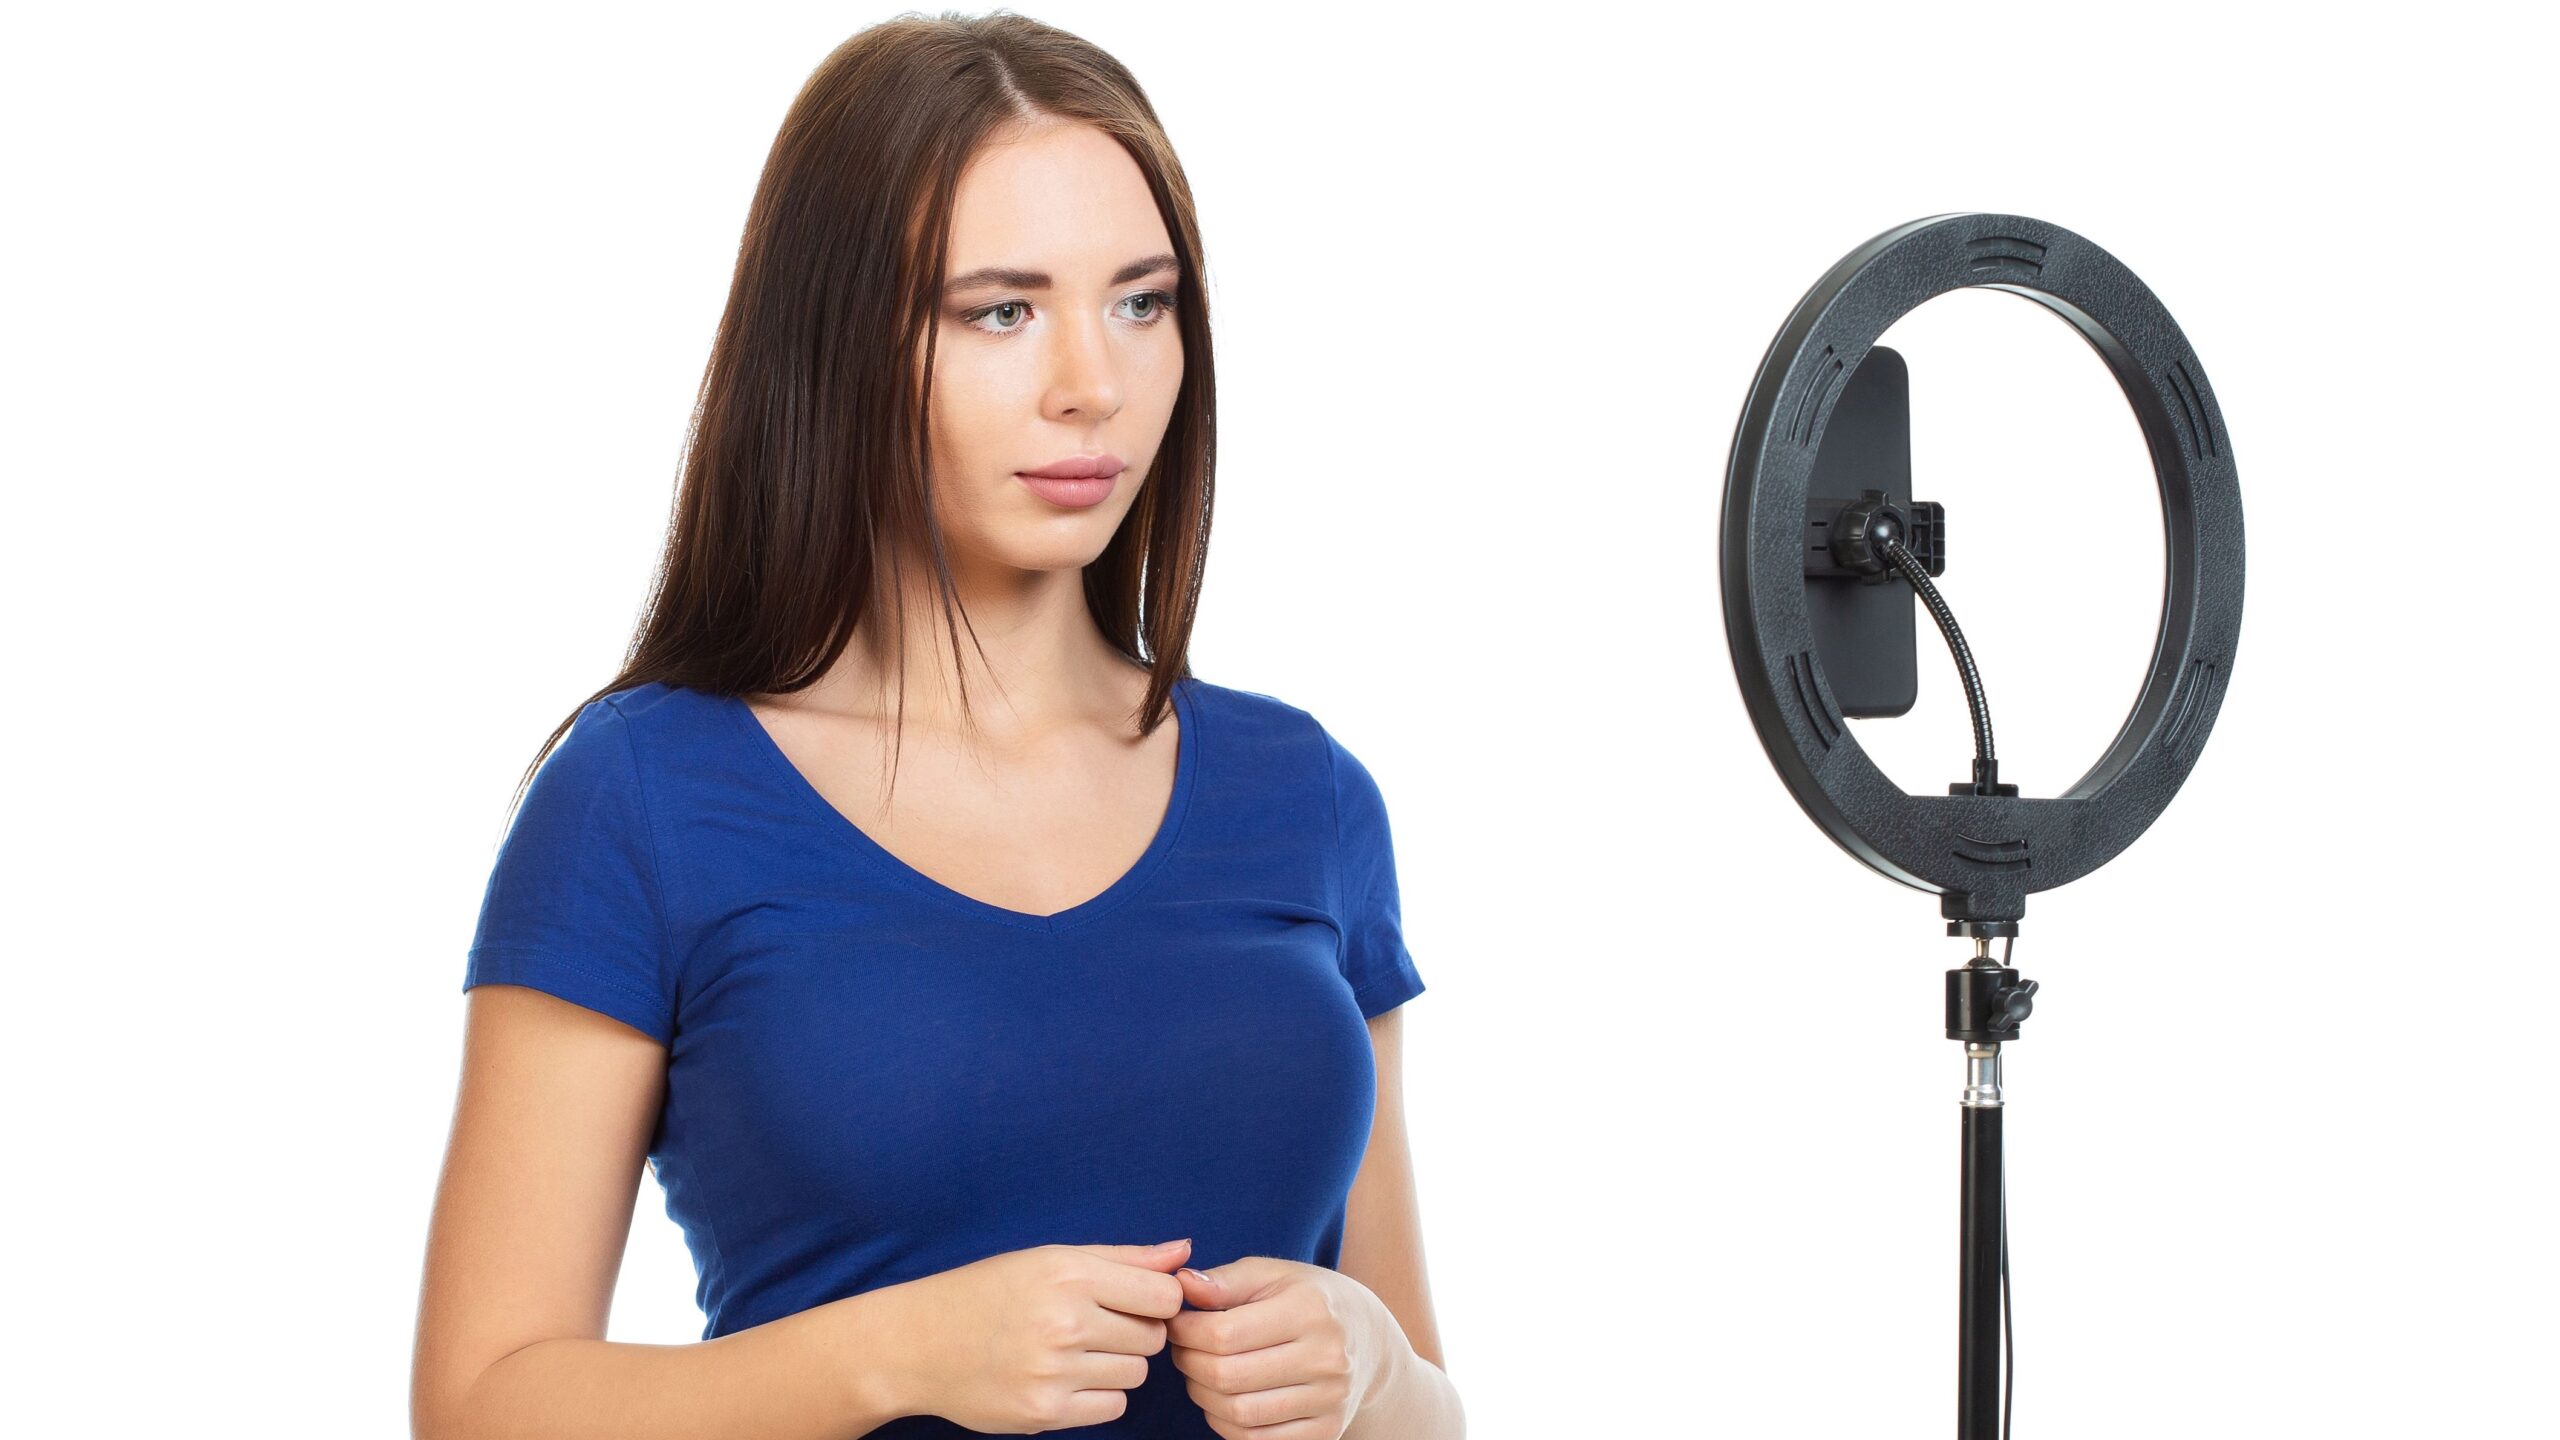
- Use your phone’s main (rear) camera:
- The rear camera typically offers higher resolution and better image quality compared to the front (selfie) camera.
- This helps produce a sharper, clearer photo which is critical for visa photo standards.
- Avoid using any selfie mode or front-facing camera filters that may soften or alter your appearance.
- Clean your phone’s camera lens thoroughly:
- Wipe the lens gently with a soft, lint-free cloth, like a microfiber cloth.
- Remove any fingerprints, smudges, dust, or dirt that could blur or distort the image.
- A clean lens ensures your photo will be crisp and detailed.
- Stabilize your phone for steady shots:
- Use a tripod if you have one to keep your phone completely still during the photo shoot.
- If no tripod is available, place your phone on a stable, flat surface like a table or shelf.
- Avoid holding your phone by hand, which can introduce shakes and lead to blurry photos.
- Use your phone’s timer function so you can get into position without rushing or moving the phone.
- Disable any camera filters, beauty modes, or enhancements:
- Make sure the camera settings are set to capture your natural appearance without modifications.
- Filters can change skin tone, soften details, or alter facial features — all of which are not allowed.
- Enable grid lines in your camera settings:
- Turn on the grid option to help you align your face centrally and keep it level in the frame.
- This assists in following the visa photo rules that require a centered, straight-on face position.
Set Up the Phone Camera Settings
Getting the right camera settings on your phone is crucial to capturing a US visa photo that meets all the official requirements. One of the first things you should do is turn off the flash. Although it might seem helpful, the flash often creates unwanted glare and harsh shadows, which can distort your facial features or create uneven lighting on the background. Instead, aim for natural, even lighting—this will produce a more balanced and clear image, making your face easier to identify.
Next, make sure your camera is set to the highest resolution possible. Most smartphones allow you to adjust photo quality in the settings, and selecting the highest resolution means your photo will be sharp, detailed, and more likely to pass scrutiny. Low-resolution images can appear pixelated or blurry when printed or viewed on official screens, so investing a moment to double-check your settings pays off in the long run.
It’s also important to disable any filters, beauty modes, or other automatic enhancements that your phone’s camera app might apply. While these features are great for social media selfies, they can soften your features or change your appearance in ways that violate visa photo rules. The goal here is to capture an accurate, unaltered image of yourself, so keep your photo natural and straightforward.
Finally, enabling grid lines in your camera settings can make a big difference in composing your shot correctly. These lines help you keep your face centered and level in the frame, which is essential for meeting the US visa photo guidelines. Proper alignment ensures your head is positioned correctly and that the photo looks professional and balanced. Taking a moment to adjust these settings can save you from having to retake photos later.
Position Yourself Perfectly
| Position Aspect | Description | Why It Matters | Common Mistakes | Tips to Get It Right |
| Face the camera straight on | Look directly into the camera without tilting or turning your head | Ensures a full, clear view of your face for identification | Tilting head, turning sideways, or looking away | Use grid lines to align your face, keep head level |
| Keep a neutral expression | Maintain a relaxed face with eyes open; no smiling or frowning | Keeps facial features consistent for official use | Smiling, frowning, or squinting alters your appearance | Practice a calm, neutral look in the mirror before shooting |
| Center your head | Position your entire face right in the middle of the photo frame | Ensures your face is the focal point and balanced | Off-center face can cause rejection | Use camera grid to center yourself exactly |
| Shoulders relaxed and straight | Keep shoulders down and square, avoid slouching or leaning | Maintains natural posture and professionalism | Slouching, leaning forward or backward | Stand or sit upright, take deep breaths to relax |
| Eyes level with the camera | Keep your gaze level and straight ahead, not looking up or down | Prevents distortion and meets official guidelines | Looking up, down, or to the side | Position camera at eye level; adjust phone height accordingly |
Take Multiple Shots
When it comes to taking your US visa photo with your phone, don’t just rely on a single snap. Taking multiple shots increases your chances of getting the perfect picture that meets all the official requirements. Here’s a detailed list explaining why and how to do this effectively:
- Increase your chances of a perfect photo: Taking several pictures means you’ll have multiple options to review and pick from, rather than risking the whole process on just one attempt.
- Experiment with slight variations in distance: Move a little closer or farther from the camera while keeping your head size within the required limits. This helps find the ideal framing where your head fills the photo properly without being too big or small.
- Try small adjustments in angle: While your head should face straight on, tiny changes in your phone’s angle or height can affect lighting and shadows. Slight shifts may help eliminate unwanted shadows or improve the clarity of your facial features.
- Capture different lighting conditions: If natural light changes as you take photos (like clouds passing or sun shifting), snapping multiple shots ensures you get one with consistent, even lighting.
- Check your expression between shots: Even though you want a neutral expression, minor variations in relaxation or eye openness can affect the photo’s quality. Multiple shots let you choose the most natural and relaxed look.
- Avoid rushing the process: Taking your time between shots reduces the chance of blurry images and helps you stay composed and centered.
- Use your phone’s timer or ask someone for help: This way, you can focus on posing correctly without worrying about holding the phone steady or pressing the shutter button at the right moment.
- Review each photo immediately: After each shot, glance at the image to spot any obvious issues like shadows, blurriness, or off-center positioning, then adjust accordingly.
- Eliminate photos with common mistakes: From your multiple shots, discard those with poor lighting, head tilt, facial expression errors, or background distractions.
- Save your top choices for editing: Once you have a handful of good options, you can crop, resize, and adjust them to meet visa specifications.
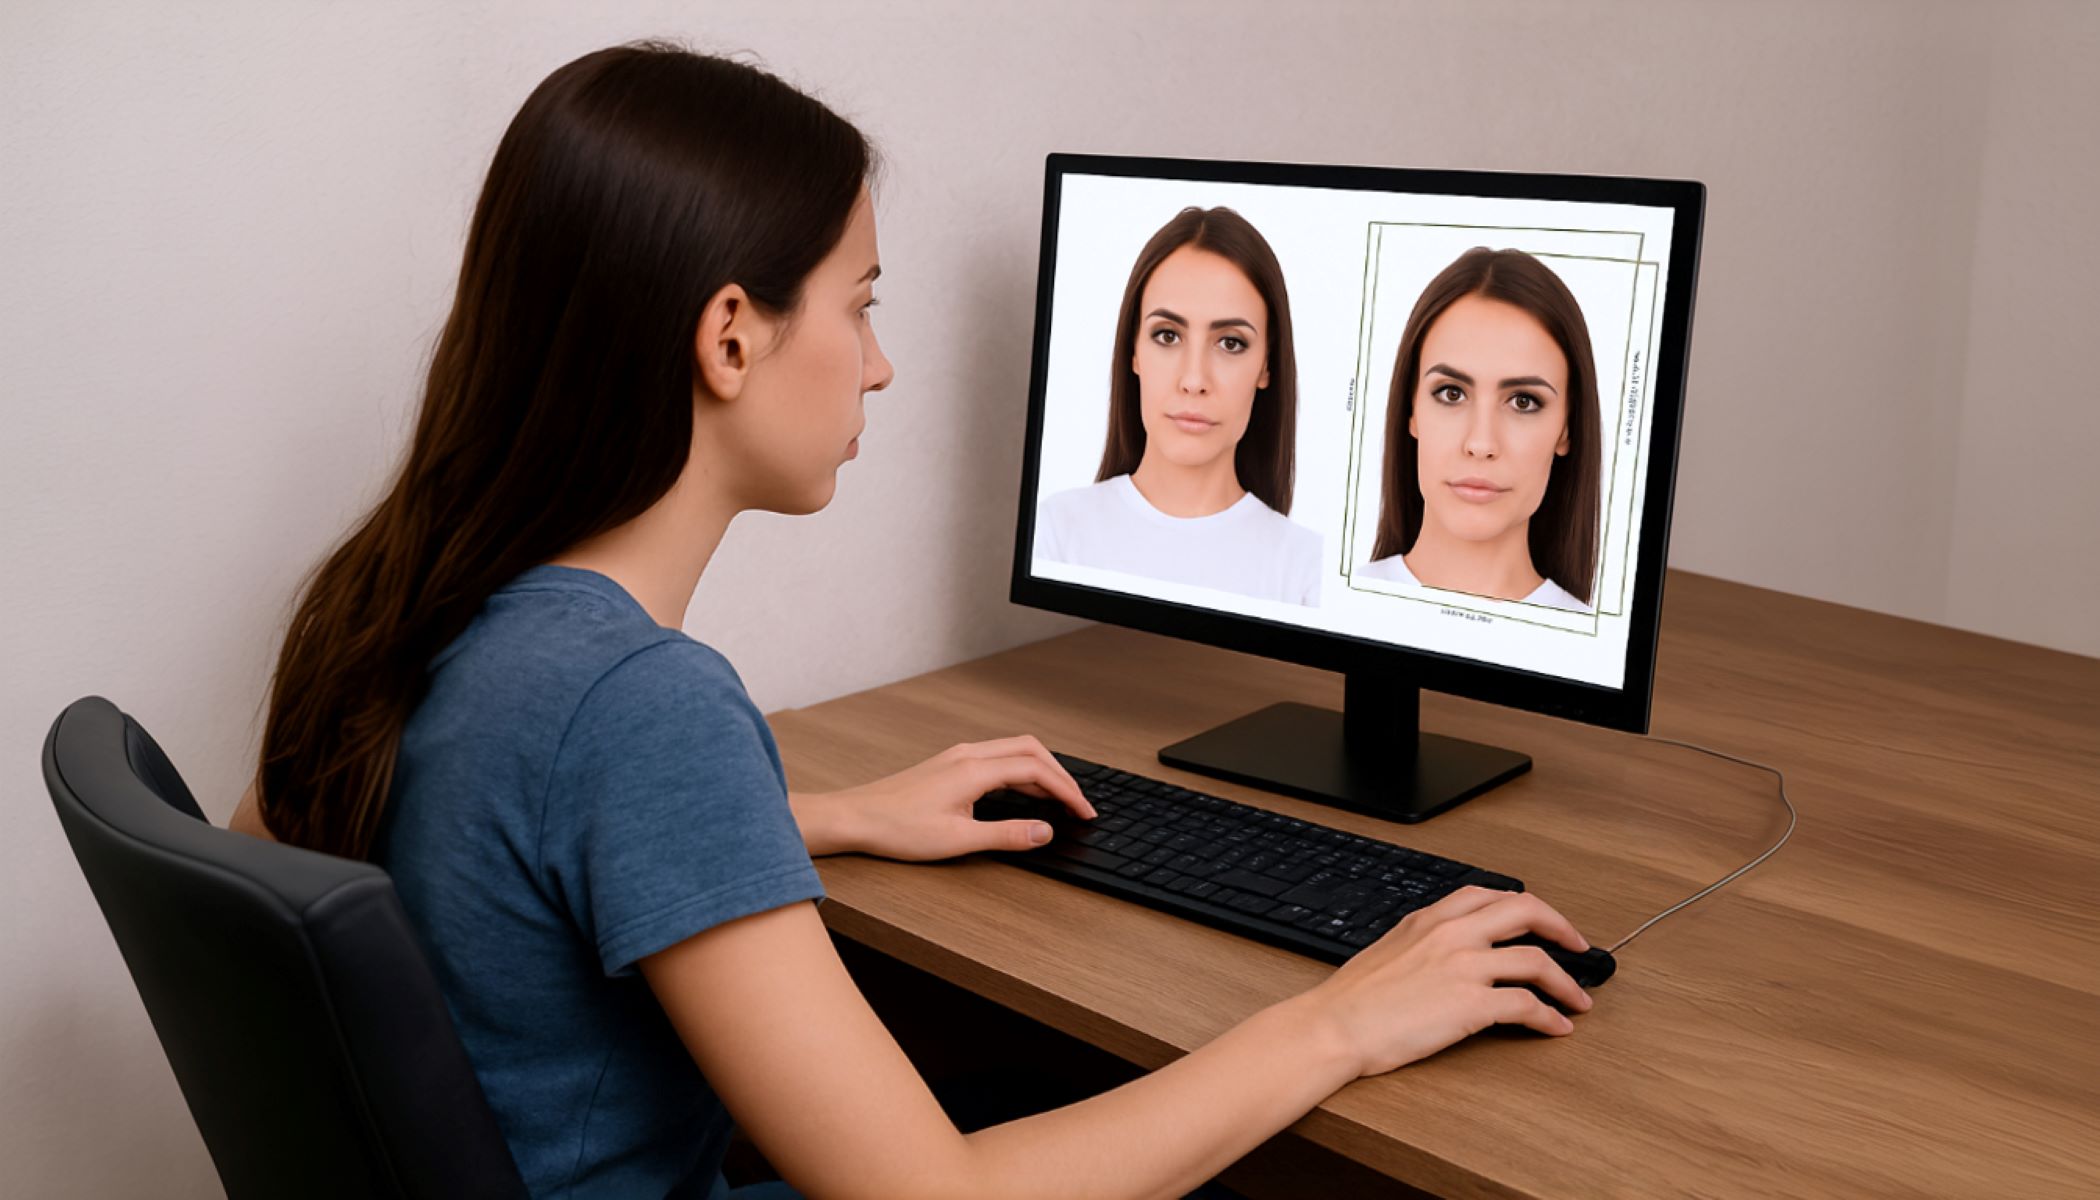
Crop and Resize the Photo Correctly
After you’ve taken multiple photos and picked the best ones, the next step is editing—but keep it simple. For your US visa photo, you must avoid any fancy retouching or filters. The goal is to crop and resize the image so it fits the official specifications precisely. This ensures your photo will be accepted without issues, so paying close attention here is essential.
To start, use a reliable photo editing app on your phone or computer. Popular choices include Snapseed, Photoshop Express, or even the built-in photo editors available on most smartphones. These tools allow you to crop your photo to the exact size required without sacrificing image quality. Remember, the official US visa photo size is a perfect 2 by 2 inches square, so your cropping must reflect this measurement accurately.
It’s also crucial to make sure the size of your head within the photo meets the requirements. Your head—from the bottom of your chin to the top of your crown—should take up about 50 to 70 percent of the photo’s height. This translates to roughly between 1 inch and 1 3/8 inches tall. If your head is too small or too large in the frame, your photo may be rejected, so be precise when resizing.
Finally, after cropping, double-check the background. It must stay a plain white or off-white color without any shadows, patterns, or other distractions showing up around your head or shoulders. Maintaining a clean background after cropping is just as important as the size itself because it helps the authorities clearly see your facial features without any interference.